Ribbon Place Card Holder
Step 1. Paint poster board.
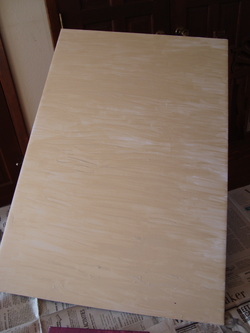
Bought a thick (not sure what its called) white poster board at hobby lobby for 1.99. and painted it with folk art metallic champagne color paint. I decided to paint just incase you can see between ribbon. Didn't want any white showing.
Step 2. Hot glue ribbon to back of poster.
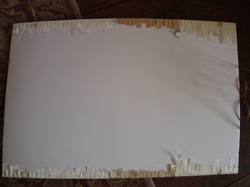
Measure strips and glue ends to the back of poster. Making sure to pull them tight. I didn't pull them as tight as I would have liked. I also didn't measure accurately but that doesn't bother me. If it does bother you, you can measure precisely the amount of ribbon needed. It will definitely save you money on ribbon. It took me about 40 yards of ribbon. I used varying shades of ivory and champagne. Choose your colors for your wedding.
Finished product
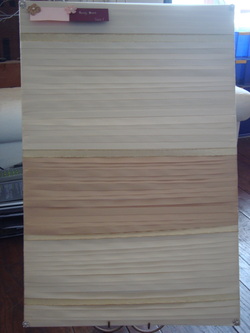
I will show how to make the flowered place cards on a separate page. I used what is supposed to be for reading music to put the ribbon board on. We already had it here at home. But you can easily find easels and what not at Hobby Lobby or Michaels. I also added some little pearl and crystal accents to the corners of the board, just for a little extra flare.
