Card Box
Step 1 of Card Box
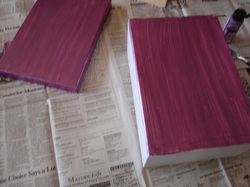
Bought a simple white photo box at Hobby Lobby. Reg. 3.99, purchased when it was on sale for 50% off. Bought some Metallic paint in plum.
Paint
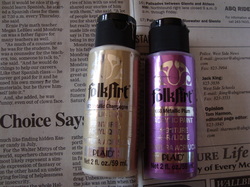
Will be using the champagne paint for the ribbon place card holder.
Step 2. Buy floral accessories
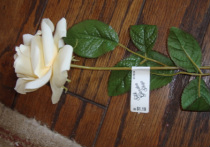
Bought 3 fake roses. Went to Michaels for these because they had their floral 50% off. Hobby Lobby also does this very often. Just look for the sales. Using a needle nose pliar I cut off just the top of the rose.
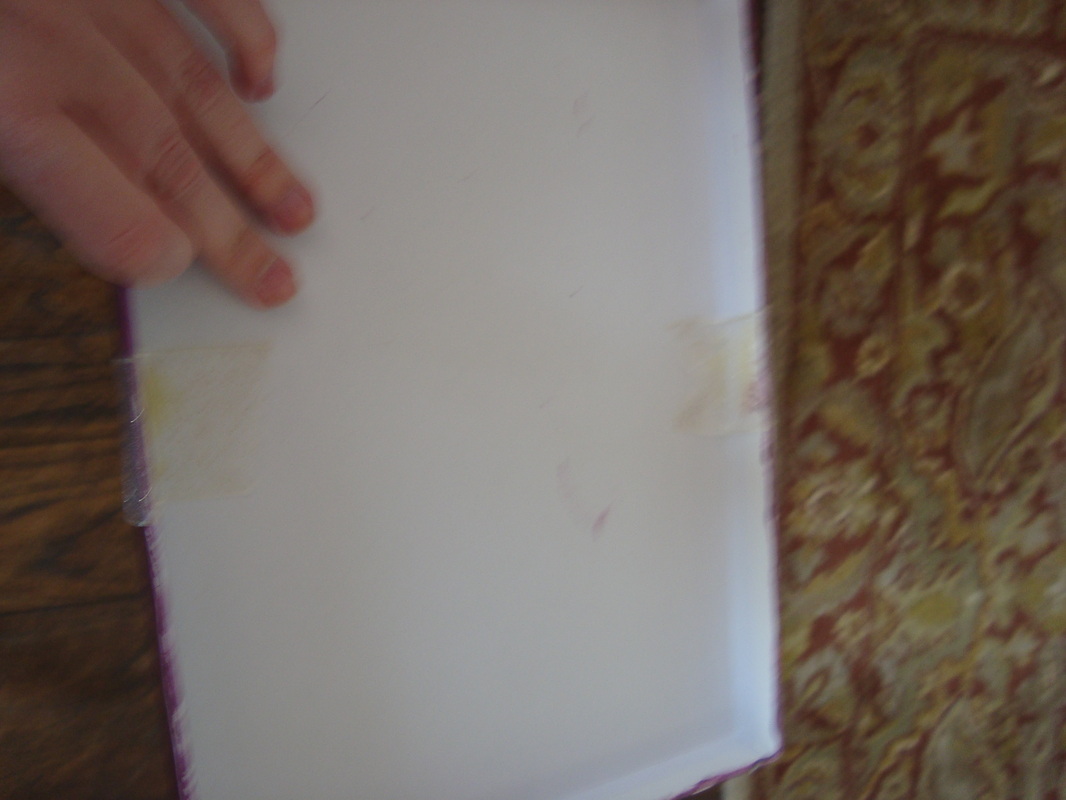
Step 3. Lining the box with ribbon.
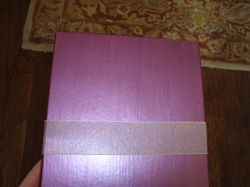
Because my sisters colors are sangria, champagne and light pink. I chose a champagne color ribbon and will be adding a smaller sangria satin ribbon over it. This is simple. Simply measure ribbon and cut to the amount needed. Glue on the insides of box. I will do the same for the top of the box as well. Trying to measure as close as possible so they line up. But hey I'm not a perfectionist so I won't stress it.
Step 4. Cutting the Slit and lining it with Ribbon.
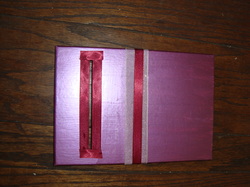
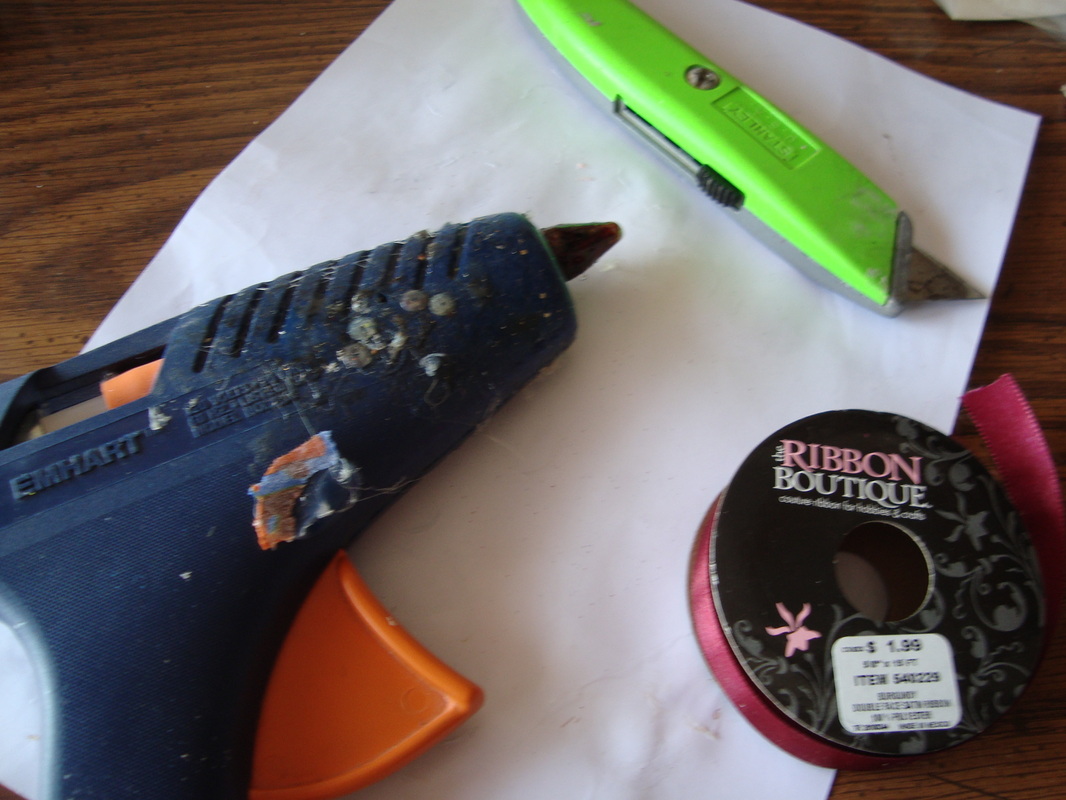
The tricky part is cutting the slit for the cards. I used a box cutter. and just cut a slit large enough for a large envelope to go through. Using the Sangria ribbon I hot glued over the slit.
Step 5. Adding the flowers.
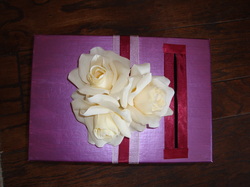
Using a hot glue gun I arranged the flowers how I liked and glued them in place.
Thinking about adding this
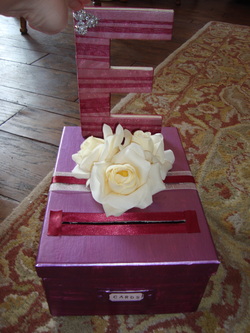
I will show how to make this letter on another page. The nice thing about using a photo box is there is already a place for a little label you can make to write cards. I embossed mine. Hard to see in photo.
